


 24/7 Emergency Service
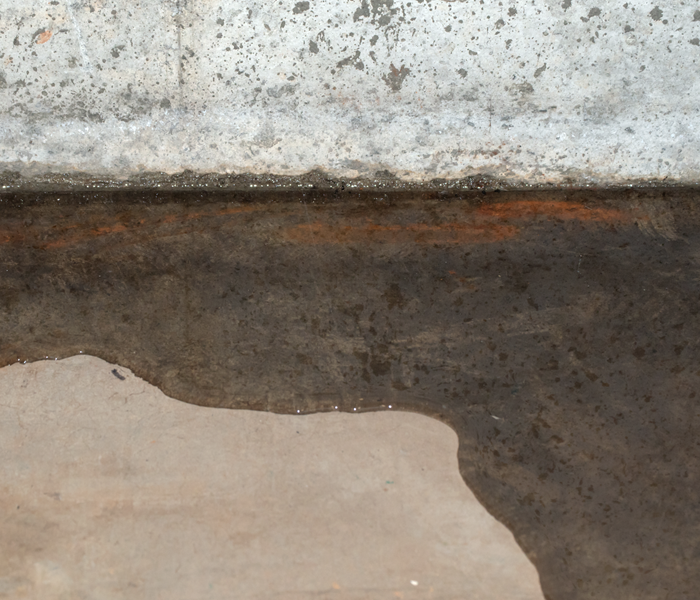
Crawlspace Chronicles: Conquering the Challenge of Removing 2 Feet of Water
6/12/2023 (Permalink)
 Removing water from a crawl space is crucial for preventing mold and secondary damages.
A flooded crawl space can be a homeowner's worst nightmare. Whether it's caused by heavy rainfall, a burst pipe, or a plumbing mishap, dealing with standing water in your crawl space requires immediate attention to prevent further damage. In this blog, we'll guide you through the step-by-step process of safely removing 2 feet of water from your crawlspace, helping you restore your home to a dry and secure state.
Step 1: Prioritize Safety
Before diving into the water removal process, ensure your safety by following these precautions. Turn off all electrical power in the crawlspace to avoid electrocution hazards. Wear protective clothing, including rubber boots, gloves, and a face mask to minimize contact with potentially contaminated water.
Step 2: Assess the Situation
Evaluate the extent of the water damage and identify the source of the flooding if possible. This will help you determine the best approach for removing the water. Additionally, take note of any valuable items or furniture that might have been affected and prioritize their recovery.
Step 3: Pumping out the Water
To remove the substantial amount of water from your crawlspace, you'll need to employ a reliable pump. Follow these steps:
- Rent or purchase a submersible pump capable of handling large volumes of water.
- Locate the lowest point in your crawlspace and position the pump there.
- Connect a hose to the pump and direct it away from your home's foundation, ensuring proper drainage.
- Plug in the pump and allow it to run until all the water has been pumped out. Be patient, as this process may take several hours.
Step 4: Drying and Ventilation
Once the water has been removed, focus on drying out the remaining moisture to prevent mold growth and further damage. Use a wet/dry vacuum or mop to remove any residual water from the surface. Open all doors, windows, and vents to promote cross-ventilation and increase airflow in the crawlspace. Place dehumidifiers and fans strategically throughout the space to expedite the drying process. Monitor humidity levels regularly and adjust the equipment as needed.
Step 5: Inspect and Repair
Once your crawlspace is completely dry, thoroughly inspect the area for any signs of damage. Look for structural issues, mold growth, and compromised insulation. Address these problems promptly by contacting professionals if necessary. Additionally, take preventive measures to avoid future water intrusion, such as repairing leaks, improving drainage systems, or installing a sump pump
Step 6: Clean and Disinfect
Even after the water is removed, it's crucial to clean and disinfect the crawlspace to eliminate any secondary damages. Scrub the walls, floor, and any affected surfaces with a solution of warm water and bleach or a specialized disinfectant. Dispose of any water-damaged materials, such as insulation or carpet, that cannot be effectively cleaned or salvaged. Use a mold inhibitor to further prevent mold growth in the future.
Removing water from a crawlspace is a challenging task that requires careful planning and execution. By following these steps and taking appropriate safety measures, you can effectively mitigate the damage, restore your crawlspace to a dry state, and prevent further issues like mold growth. However, if you're uncertain or the damage is extensive, it's always advisable to consult with professionals who specialize in water damage restoration to ensure a thorough and proper recovery process.